- Services
- SoftwareDesign Engineering Software
- All SOLIDWORKS SoftwareDesign and Engineering Software featuring SOLIDWORKS SOLIDWORKS Software and the 3DEXPERIENCE Works portfolio unites your entire engineering team and downstream engineering data consumption. The SOLIDWORKS software eco system includes, Mechanical Design, Electrical Design, Revision Control, Project Management, CNC CAM, marketing, and documentation software.
- SOLIDWORKS Design
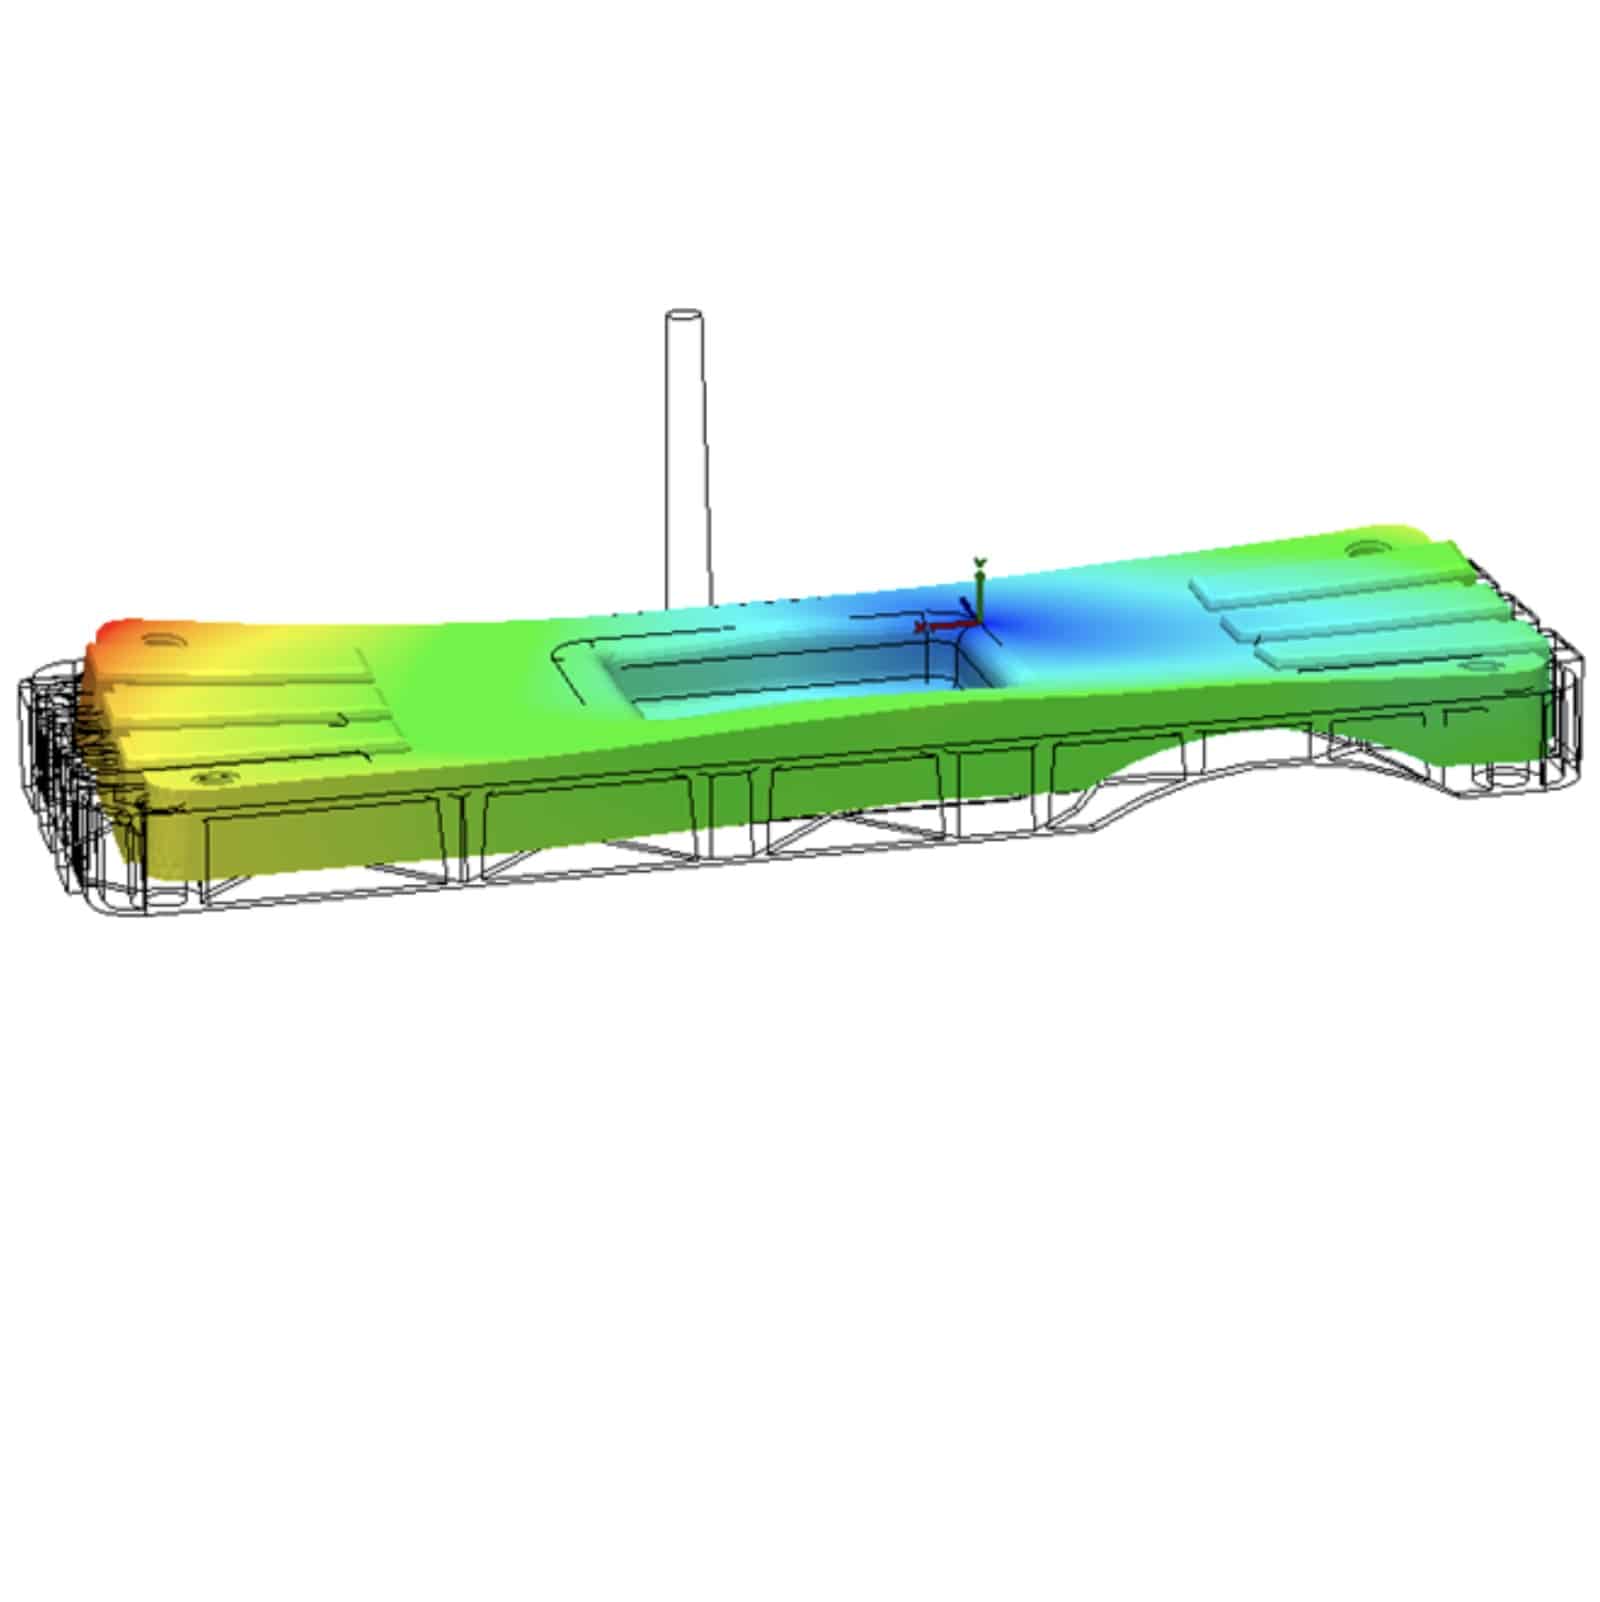
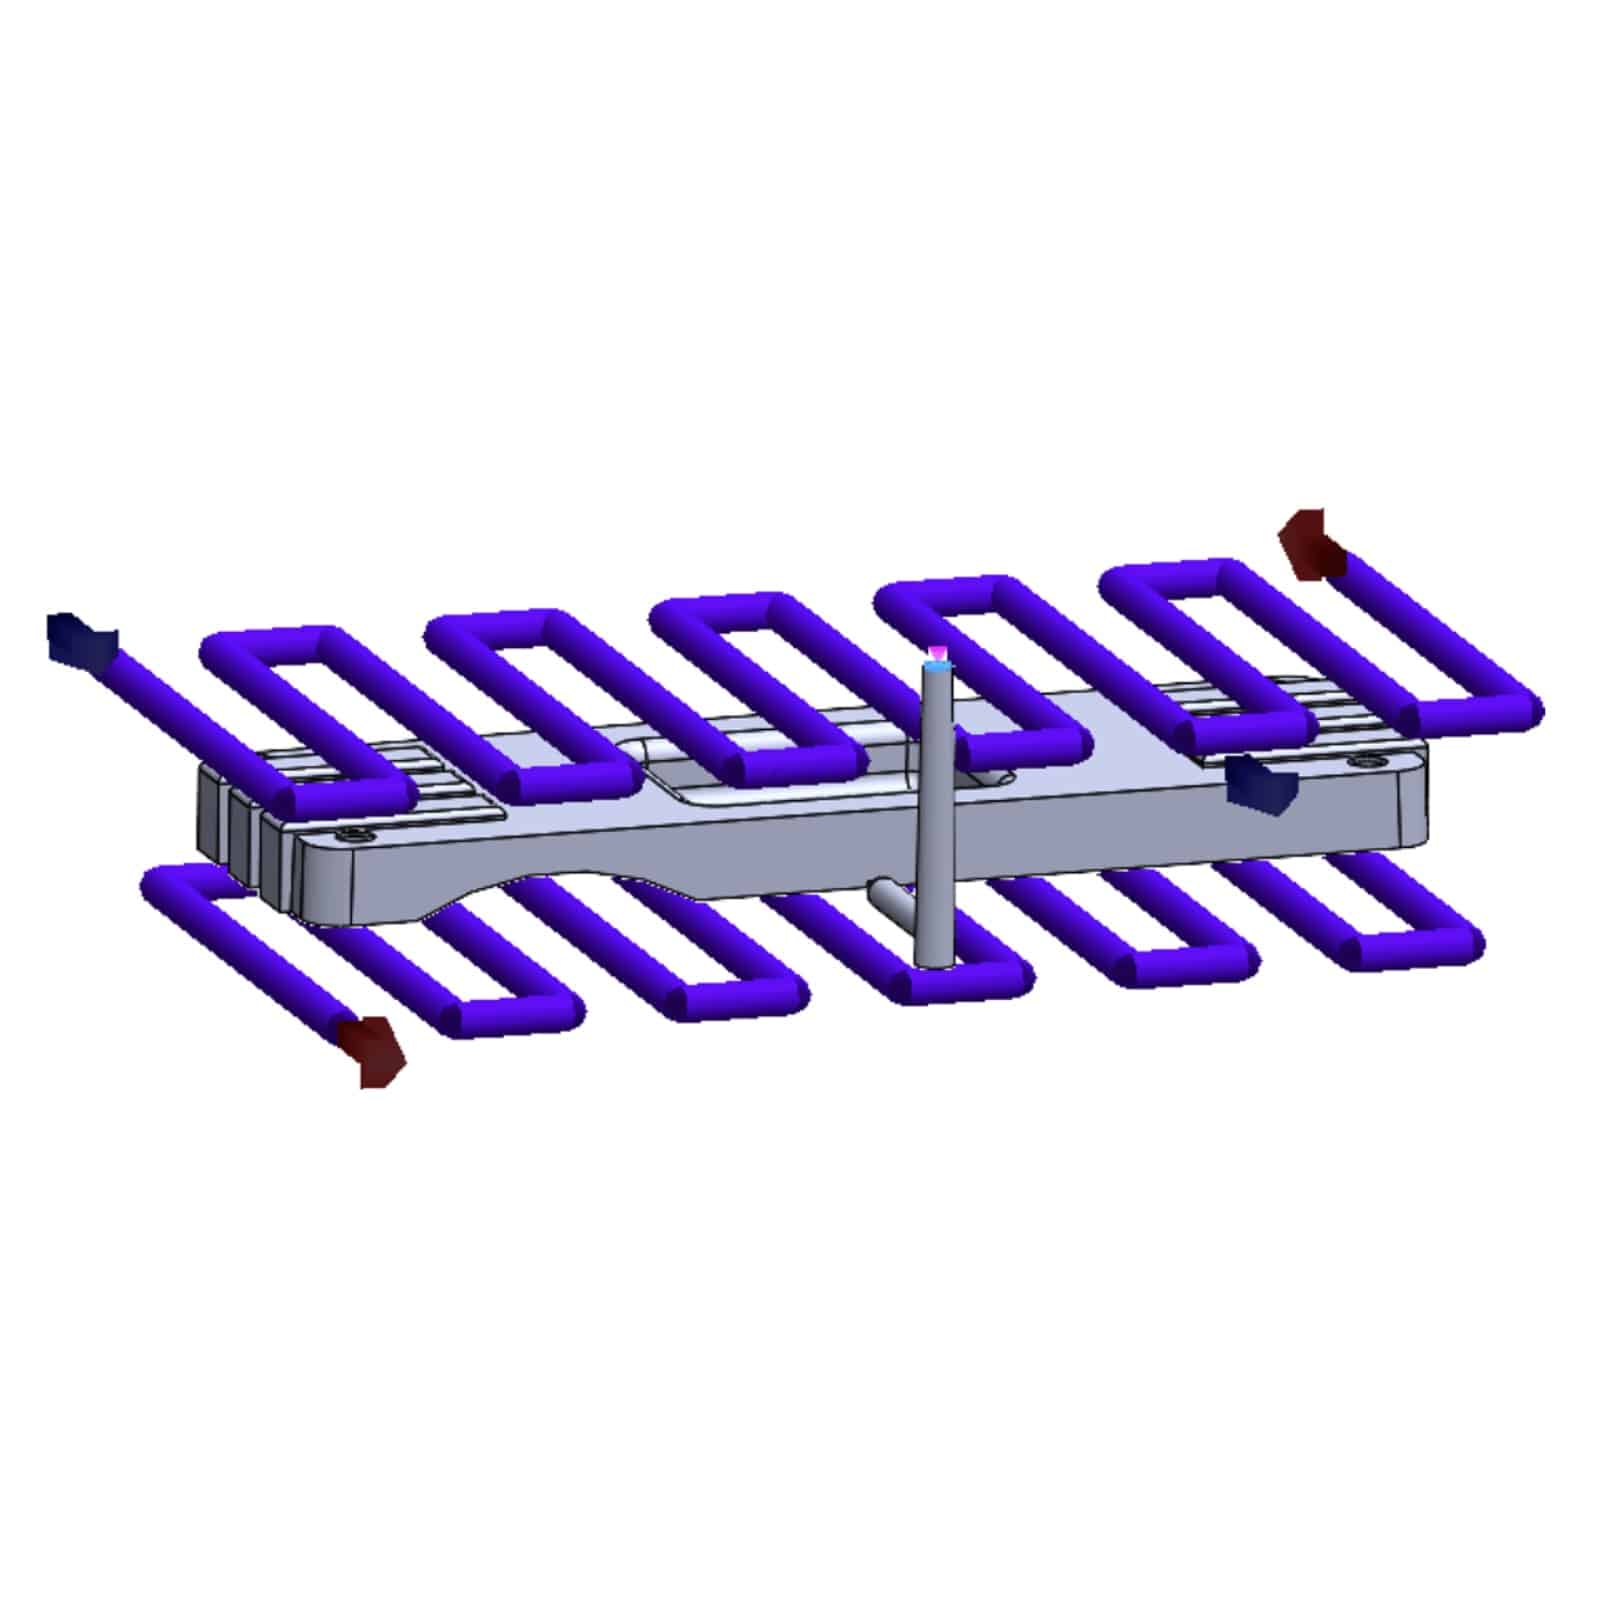
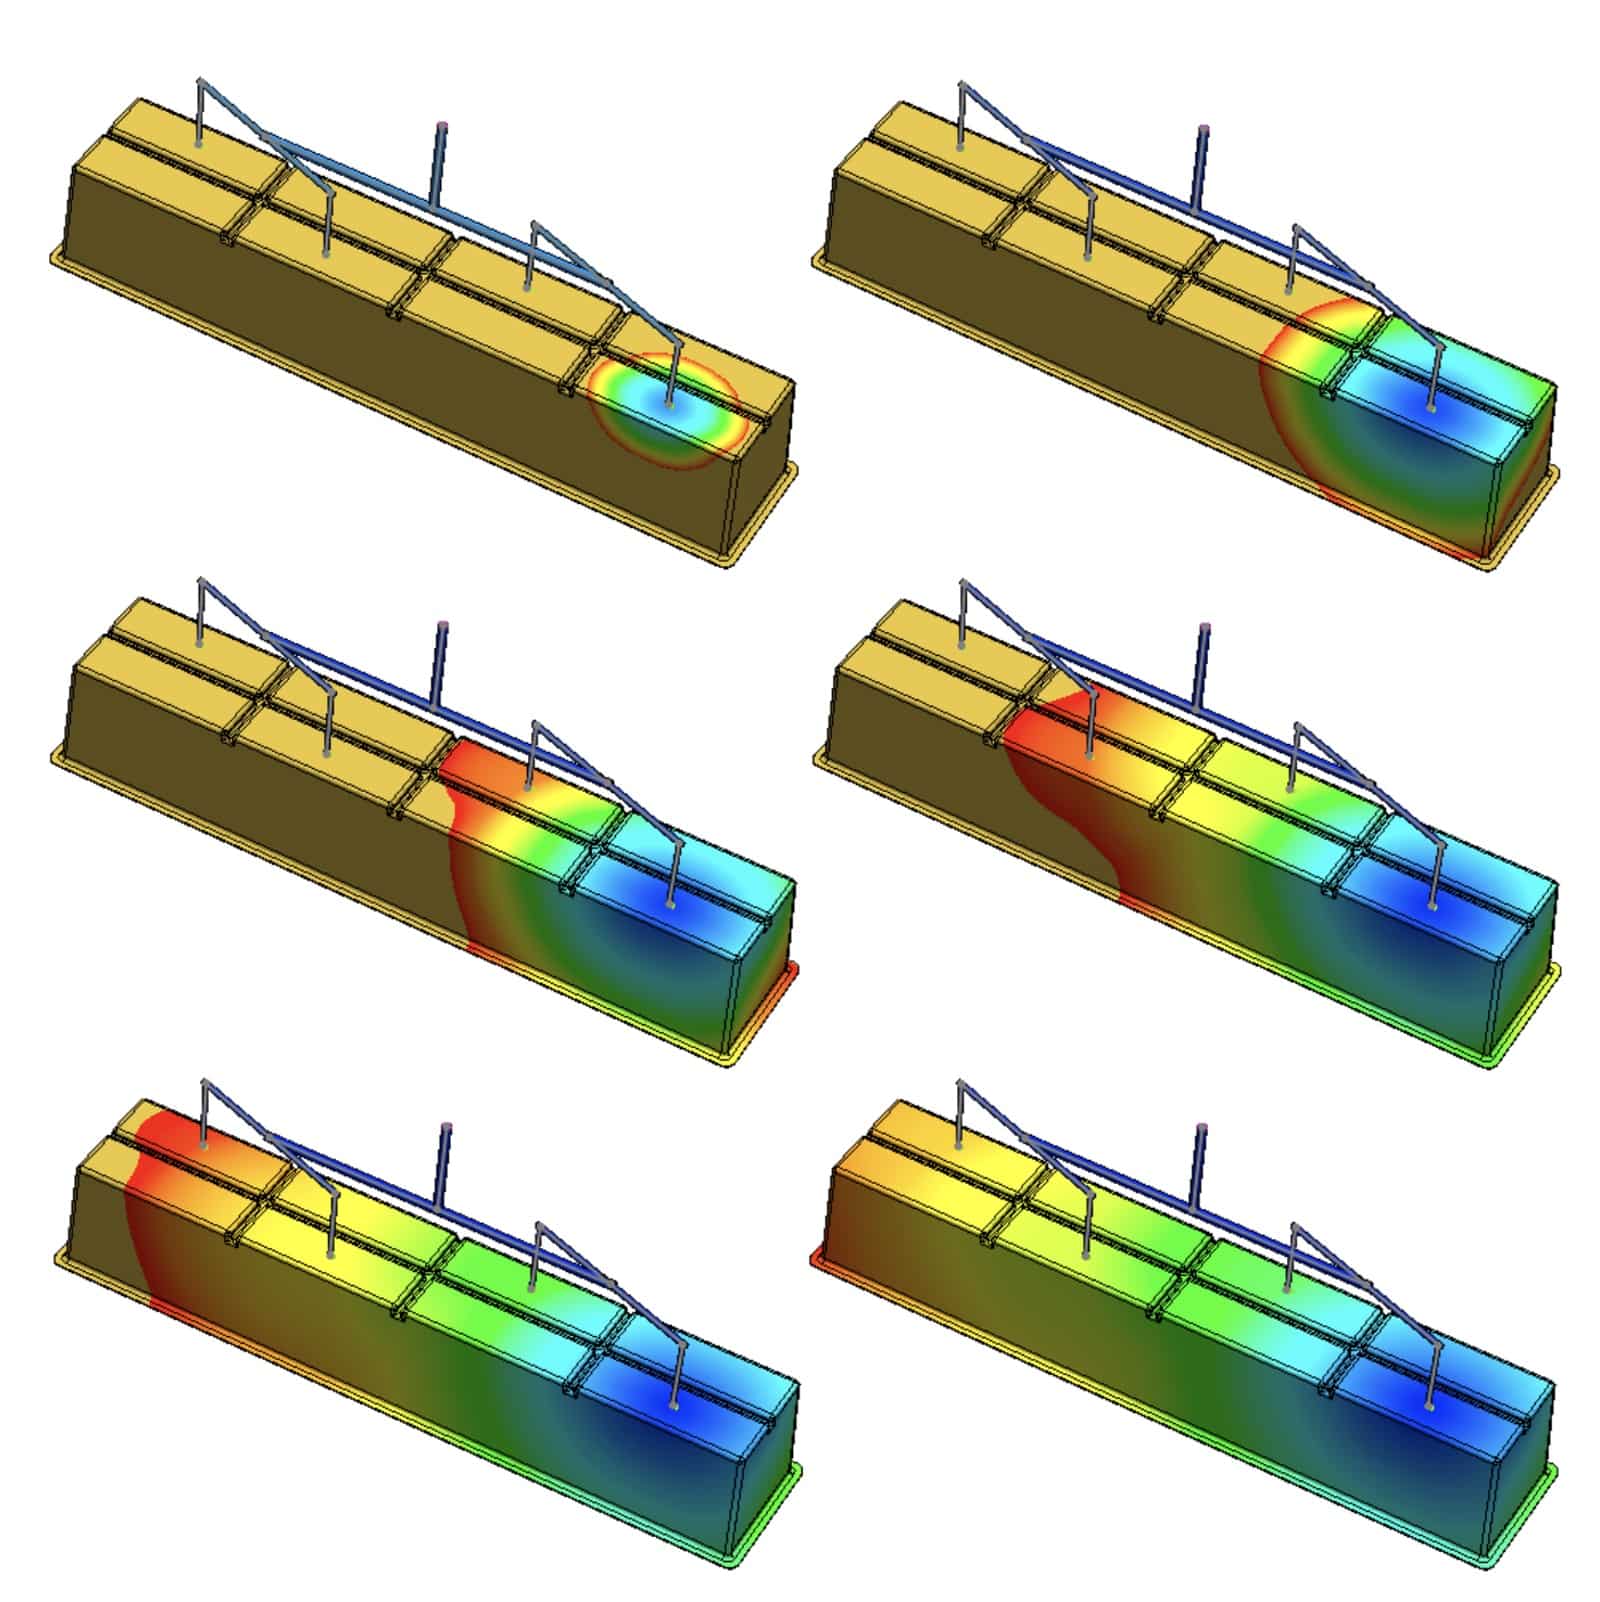
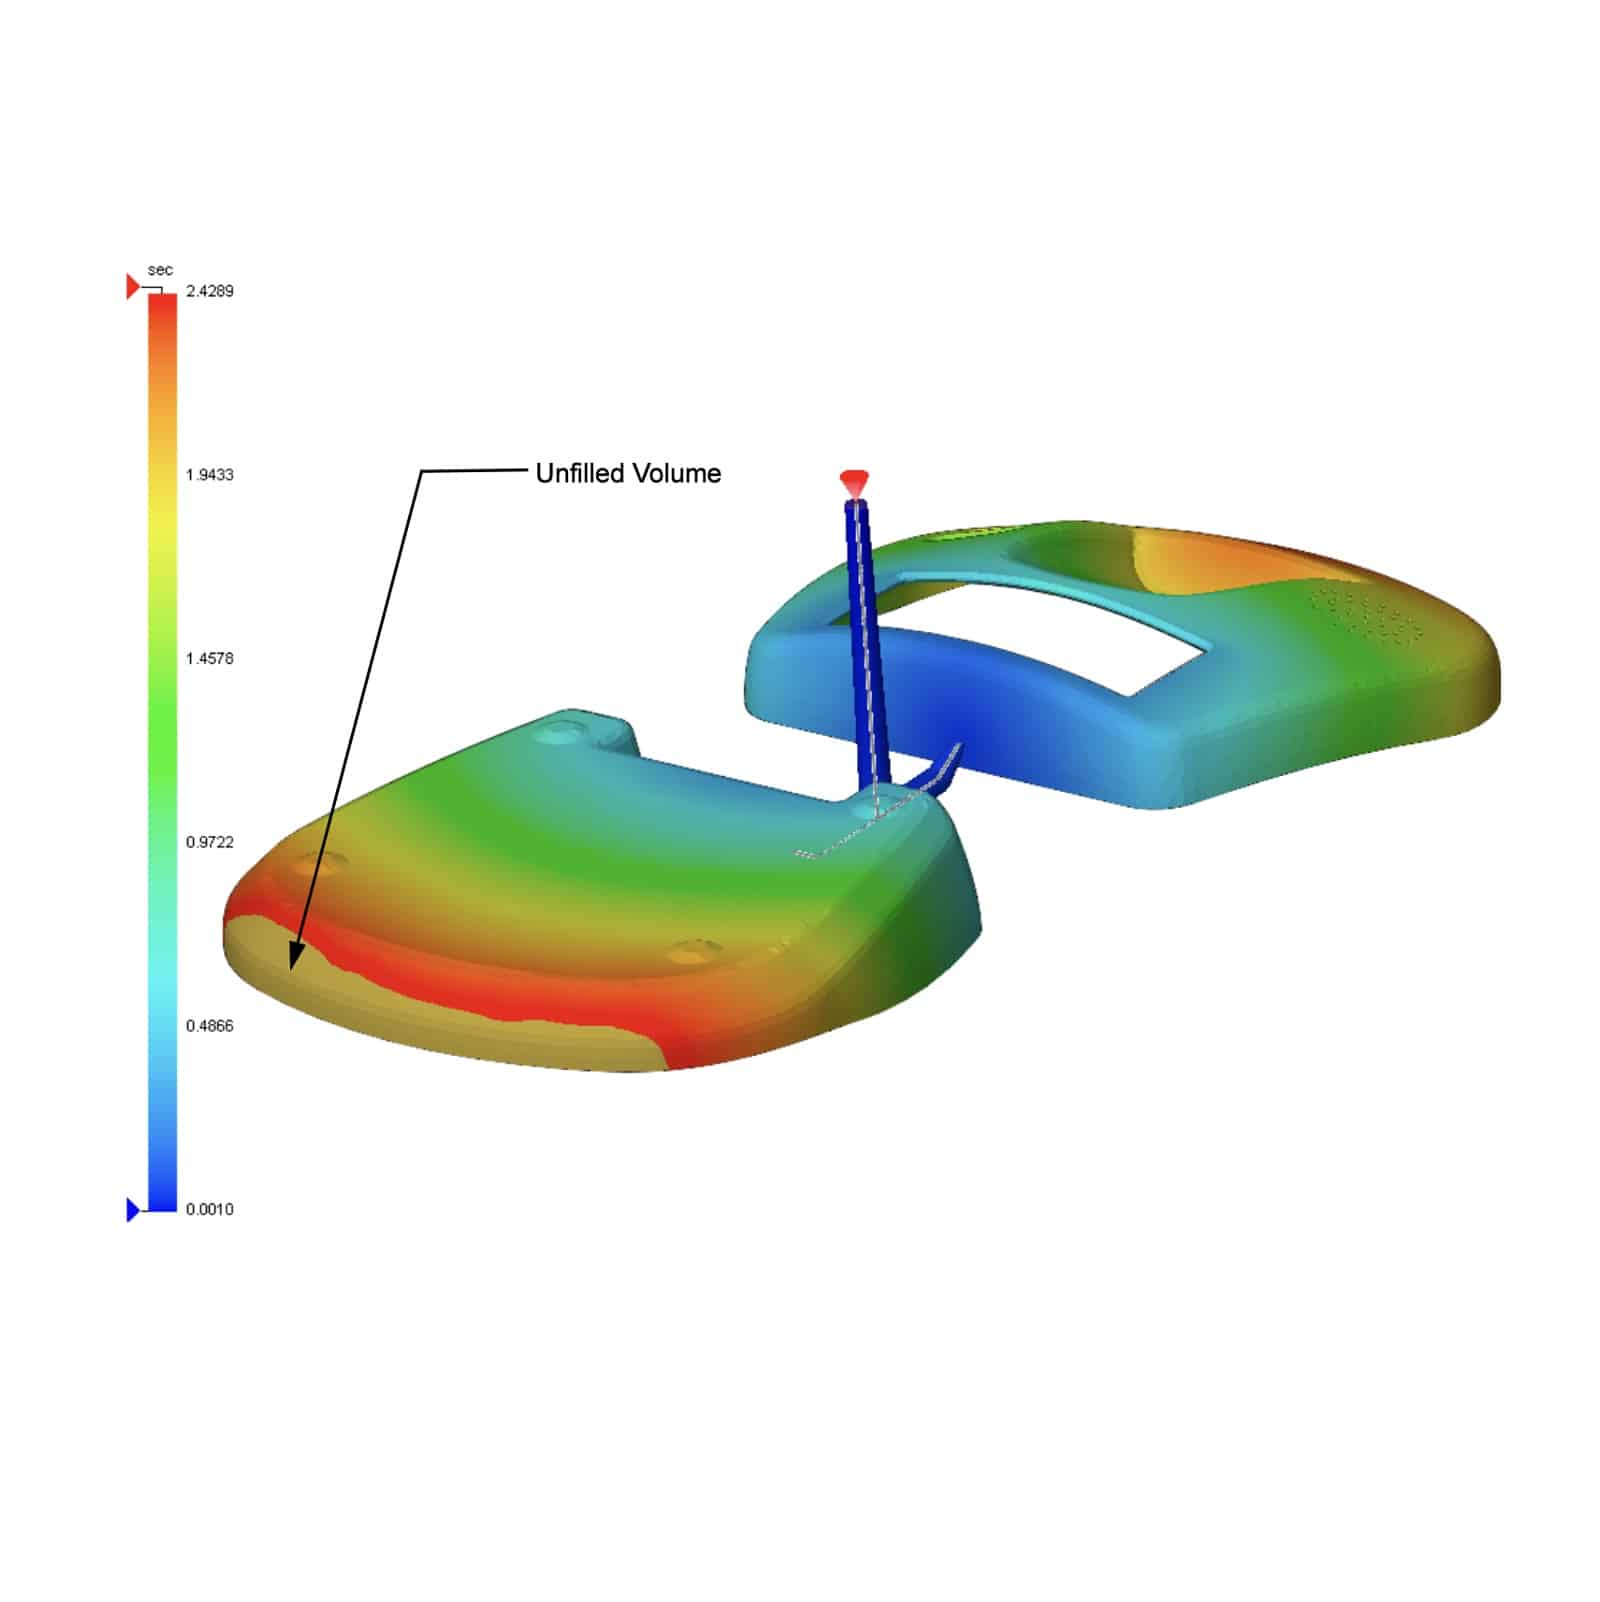
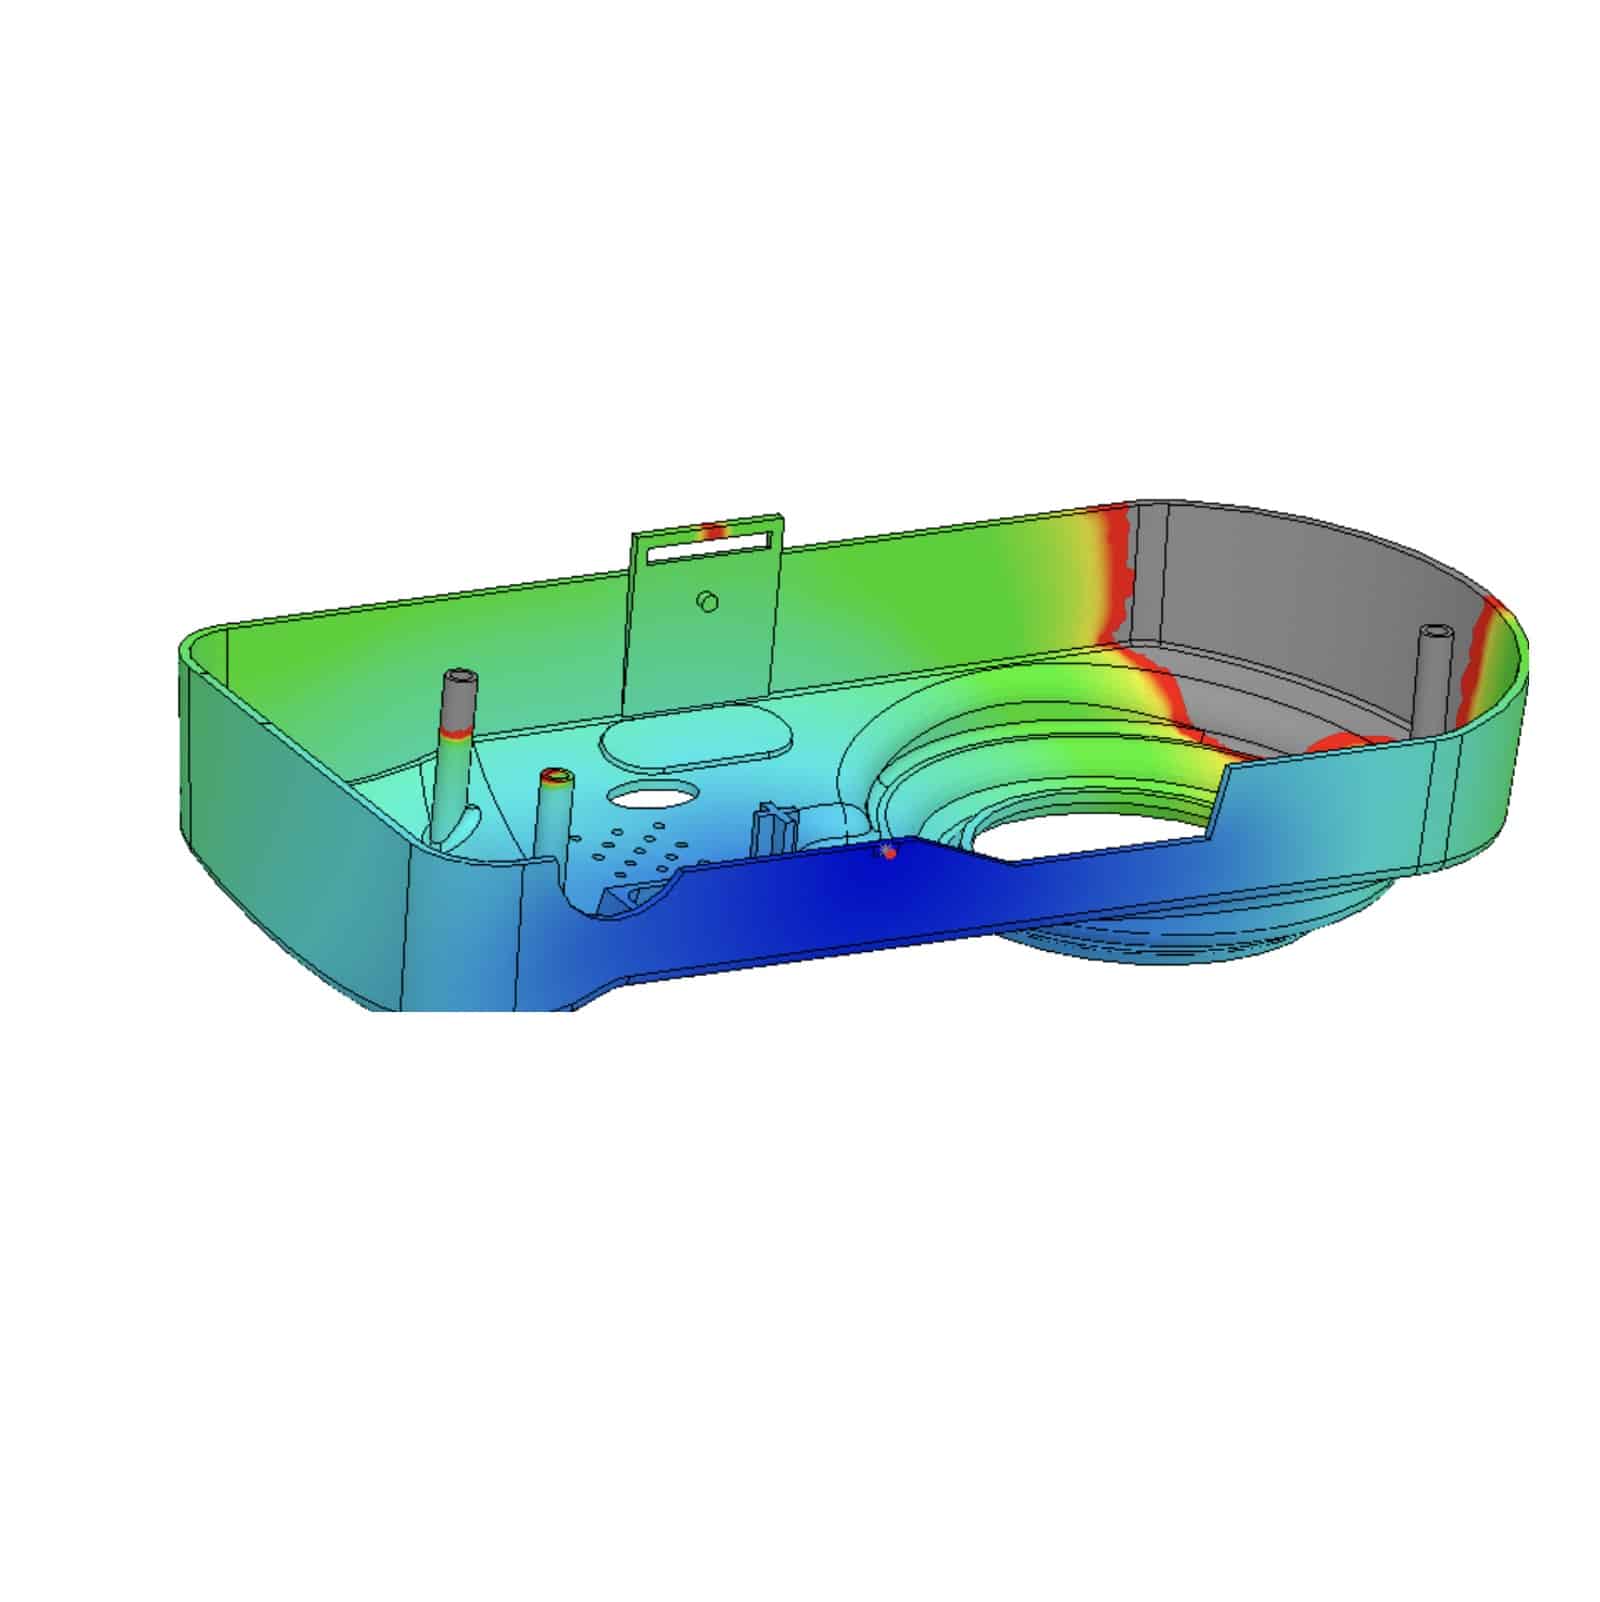
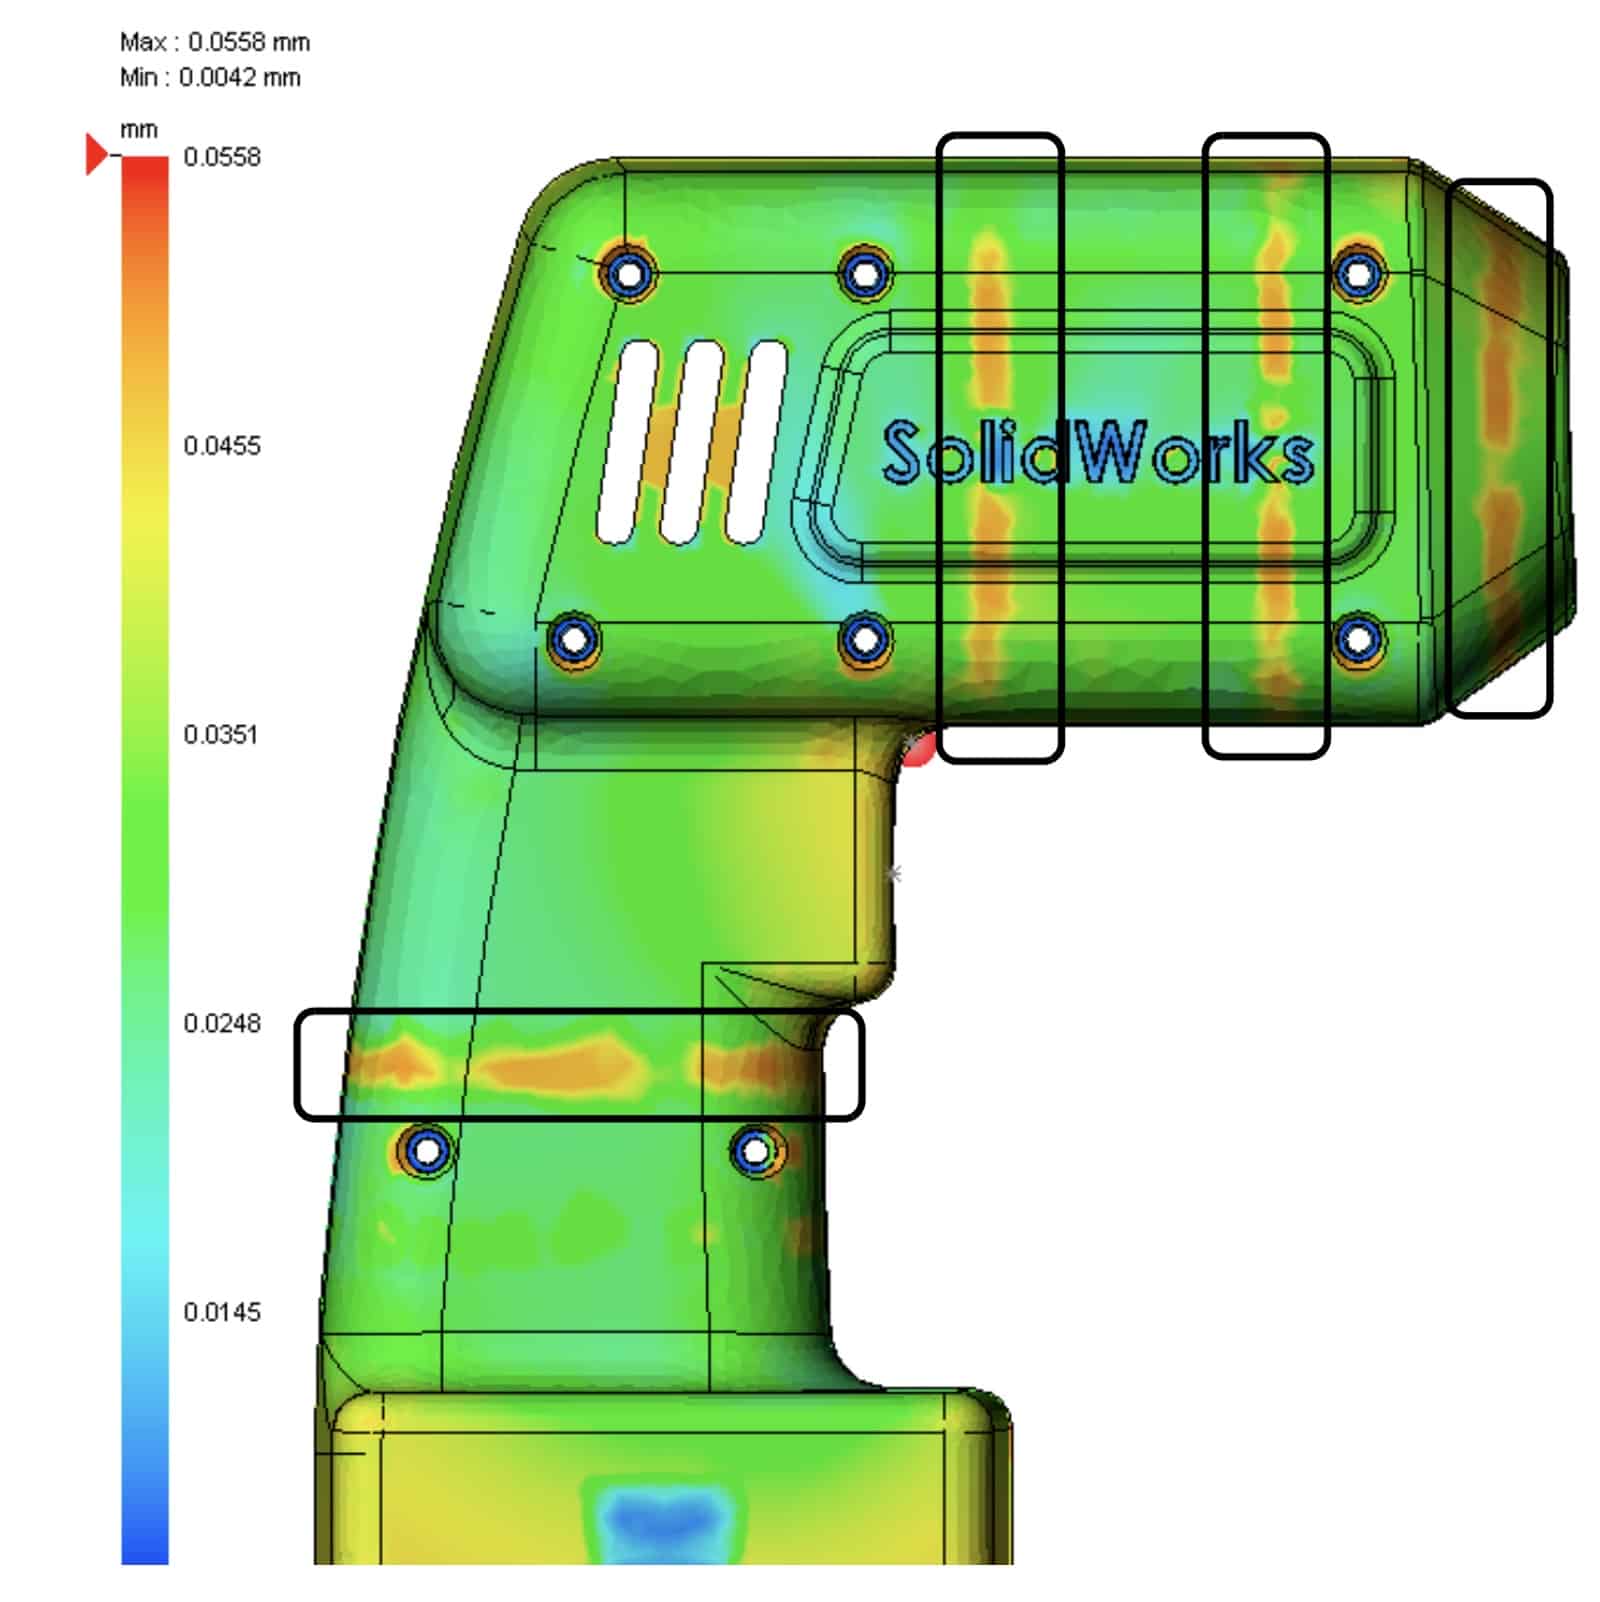
- Simulation AnalysisSOLIDWORKS Simulation Tool SOLIDWORKS offers integrated simulation analysis tools ranging from structural analysis and computational fluid dynamics to injection molding simulation. It also includes advanced, cloud-enabled capabilities powered by Abaqus. These tools are accessible for every designer, engineer, and analyst. Furthermore, SOLIDWORKS Simulation simplifies the process of predicting a product’s real-world physical behavior. It does this by virtually testing CAD models using Finite Element Analysis (FEA). The suite offers linear, non-linear, and dynamic analysis capabilities, making it a versatile choice. Similarly, SOLIDWORKS Flow Simulation provides an intuitive Computational Fluid Dynamics (CFD) solution. Integrated within SOLIDWORKS Design, it allows for the swift simulation of liquid and gas flows. This helps calculate product performance and capabilities efficiently. Lastly, SOLIDWORKS Plastics focuses on making simulations for analyzing plastic parts and injection molds easier to use. It predicts how melted plastic flows during the injection molding process. This helps in identifying manufacturing-related defects early on, allowing for quick evaluation of part manufacturability during the design phase.
- Electrical DesignSOLIDWORKS Electrical Design Tools SOLIDWORKS Electrical Design packages are standalone, easy-to-use tools for electrical design. They let you efficiently map out electrical connections in complex systems. With SOLIDWORKS Electrical Schematic, you get an intuitive interface that simplifies complex tasks like cross-referencing contacts and creating terminal drawings. It speeds up product development by cutting down on the repetitive tasks involved in making electrical schematics. SOLIDWORKS Electrical 3D allows you to add electrical components and automatically connect them within a 3D model using SOLIDWORKS’ routing technology. It keeps 2D schematics and 3D models in sync, so any changes in one will automatically update in the other.
- DocumentationDesign Documentation Beyond Just Drawings Turn your 3D designs and development info into top-notch visuals, engaging 3D content, and real-looking images for sales, marketing, and making things. With SOLIDWORKS Composer, you can take your 3D engineering models and make easy-to-understand graphics. These help explain how things work or are put together. This is great for making assembly instructions, product guides, setup steps, repair manuals, training materials, marketing pamphlets, and sales proposal kits. Try SOLIDWORKS Visualize to turn your 3D CAD data into stunning, realistic visuals easily and quickly. This can range from pictures to animations, interactive online content, and even full Virtual Reality experiences. Make your products stand out. Think of SOLIDWORKS Visualize as your CAD data’s very own “camera”!
- ManufacturingManufacturing tools (CAM) SOLIDWORKS manufacturing tools include: SOLIDWORKS CAM Standard lets you quickly program individual milled parts and configurations without leaving the SOLIDWORKS Design environment. You have full access to defining rules within SOLIDWORKS CAM to create and build to your company standards and Tolerance-Based Machining (TBM). With SOLIDWORKS CAM Professional, you can take your programming capabilities to the next level. This tool enhances SOLIDWORKS CAM Standard with features like High-Speed Machining (HSM), configurations, assembly machining, turning, and 3+2 programming. These features are designed to drive four- and five-axis machines, offering you enhanced productivity and efficiency. SOLIDWORKS Machinist Standard provides all the functionality found in SOLIDWORKS CAM Standard plus a part-only modeling environment. This allows you to work seamlessly with SOLIDWORKS Part files and import several neutral file formats. This connectivity makes it easy to collaborate with customers and vendors on the manufacturing process. SOLIDWORKS Machinist Professional provides SOLIDWORKS CAM Professional capabilities with SOLIDWORKS Parts and Assemblies, allowing the user to import and design fixtures and other manufacturing components used in the machining process. By using Assembly mode in SOLIDWORKS CAM Professional, automatic toolpath clipping can ensure your programs do not collide with custom fixtures or vises.
- Project ManagementProject Management Solutions Now more than ever it is important for manufacturers to develop repeatable processes that secure intellectual property and ensure data integrity. Safely storing and sharing it provides your stakeholders with a secure space to collaborate, iterate, and innovate on real-time data, accessible anytime and from anywhere. Project Management document control: Powerful search capability lets you easily find files—fast. Version control ensures you always have access to the most up-to-date files. You control who has access to data and documents. Store CAD models and documents—anything from emails to images—in an indexed central repository on the company’s server that tracks versions and automates workflows. With SOLIDWORKS PDM, you’re in control. Project Management control: SOLIDWORKS Manage is an advanced, record-based data management system that extends the global file management and application integrations enabled by SOLIDWORKS PDM Professional to include a comprehensive set of capabilities that you can use and distribute to many areas of your business.
- Training
-
-
-
-
Popular Classes
SOLIDWORKS Essentials
Topics covered are: sketching, multi-contour sketching, reference geometry creation, design…SOLIDWORKS Simulation Essentials
Topics covered in this course are: introduction to FEA; FEA…
-
-
-
-
-
-
- Government
- Blog
- Resources
- About / Contact
- 0$0.00


